7 Secrets for Creating Great Architectural Renders
Architectural rendering is essential to the design process because it allows architects and designers to communicate their ideas visually to clients, stakeholders, and the general public. Architectural renders of high quality can convey a sense of space, materiality, and atmosphere, providing a realistic preview of the final project. To assist you in creating stunning architectural renders, we have compiled a list of seven essential tips that will improve the quality and impact of your visualizations.

Understand the Design Concept
It is critical to thoroughly understand the design concept before beginning the rendering process. Work closely with the project’s architects or designers to understand their vision, intended ambiance, and design goals. A thorough understanding of the design will allow you to make informed decisions about composition, lighting, and materiality, resulting in renders that accurately reflect the essence of the project.
1 Tips for Connecting to a Design Brief
- Study the Design Brief:
Review the design brief or project proposal carefully. It usually contains important information about the project’s purpose, target audience, functional requirements, and design objectives. Understanding these key points will help you tailor your renders to meet the specific needs of the project. - Analyze Design Drawings and Models:
Study the architectural drawings, 3D models, and other design documents provided to you. Pay attention to floor plans, elevations, sections, and any sketches or conceptual drawings. These resources will give you insights into the spatial layout, scale, and overall form of the design. - Research Similar Projects:
Conduct research on similar projects or buildings within the same typology or style. By studying precedents, you can gain inspiration and better understand how to approach the visualization of certain architectural elements. Additionally, examining successful renders of similar projects can provide valuable insights into effective rendering techniques. - Grasp the Emotions and Story:
An excellent architectural render should evoke emotions and tell a story. Try to grasp the emotions the design intends to evoke. Whether it’s a sense of calmness, excitement, or awe, understanding the intended emotions will guide your decisions regarding lighting, composition, and materiality. - Attend Design Presentations:
If possible, attend design presentations or workshops where the architects or designers present their ideas to clients or stakeholders. Being part of these meetings allows you to witness firsthand how the design concept is articulated and how feedback is incorporated. This experience can deepen your understanding of the project and its design principles. - Sketch and Brainstorm:
Engage in sketching and brainstorming sessions. Create quick sketches or mood boards to explore different visual approaches. These exercises will not only help you generate ideas but also refine your understanding of the design’s aesthetics and spatial qualities.
Choose the Right Software
Choosing the right rendering software is critical to achieving outstanding results. There are several software options available, each with its own set of features and capabilities. V-Ray, Lumion, Enscape, and Unreal Engine are all popular options. Take the time to experiment with different tools to see which one best fits your workflow and project requirements. Investing in powerful rendering software will improve the quality of your renders significantly.
Overview of High End Renderers
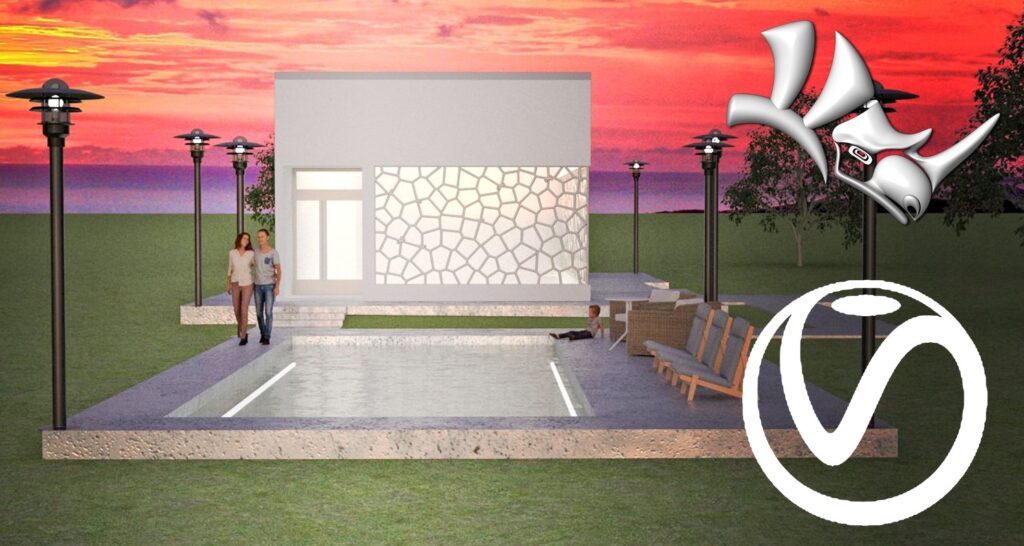
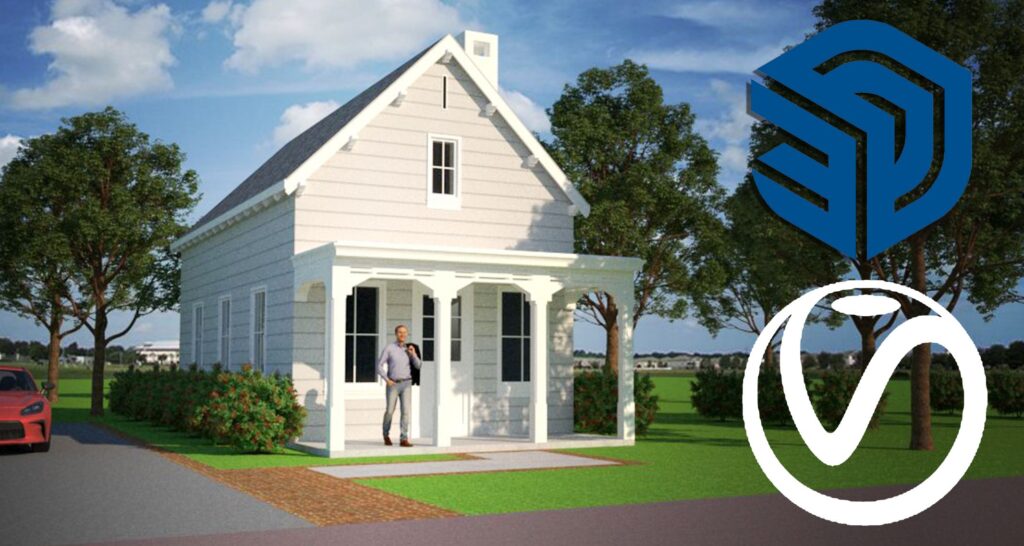
- V-Ray: V-Ray is a powerful and widely used rendering engine known for its photorealistic results. It integrates seamlessly with 3D modeling software like 3ds Max, SketchUp, Rhino, and Revit. V-Ray offers a vast array of advanced rendering settings, including global illumination, physically accurate materials, and interactive rendering for real-time adjustments. Its versatility and realism make it a top choice for architectural visualization professionals.
- Lumion: Lumion is renowned for its user-friendly interface and real-time rendering capabilities. It enables architects to create high-quality renders quickly and efficiently. With a vast library of pre-built assets, including vegetation, people, and vehicles, Lumion simplifies the process of adding context and life to architectural scenes. Its real-time editing and rendering allow for instant feedback, making it an excellent tool for design presentations and client meetings.
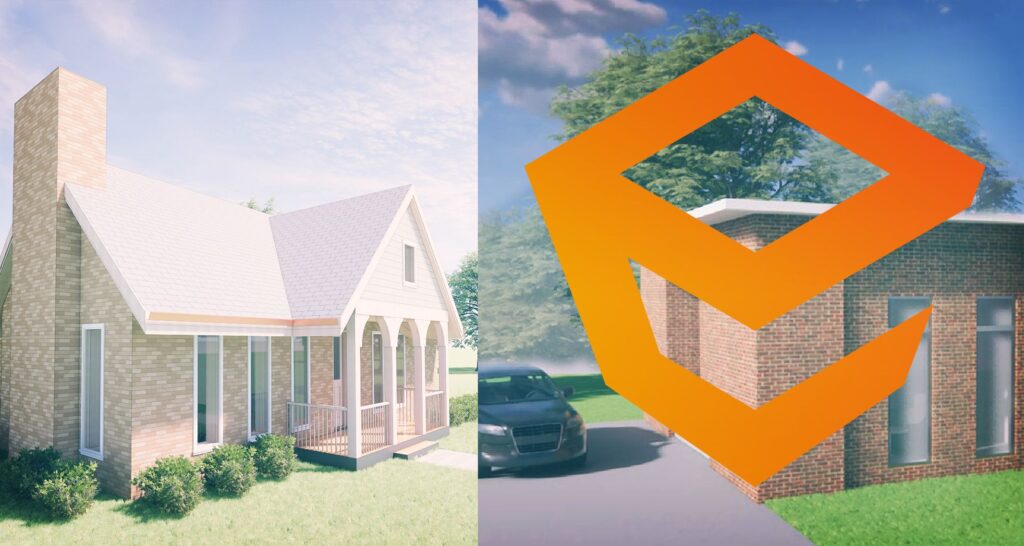
- Enscape: Enscape is a real-time rendering plugin designed for popular BIM software like Revit, SketchUp, Rhino, and ArchiCAD. Its seamless integration allows architects to visualize designs instantly within their chosen modeling environment. Enscape provides a simple and intuitive workflow, making it accessible to both beginners and experienced users. Its strength lies in its real-time exploration and the ability to generate impressive visualizations with minimal effort.
- Unreal Engine: Unreal Engine, primarily known for its use in the gaming industry, is gaining popularity as a rendering tool for architectural visualization. It offers stunning graphics and real-time rendering capabilities, allowing for interactive experiences and immersive walkthroughs. Unreal Engine’s visual scripting system, Blueprints, enables non-programmers to create complex interactions and animations for architectural scenes.
Optimize Lighting and Composition
Lighting and composition are critical in producing visually appealing renders. Experiment with various lighting setups to determine which best complements the architectural elements and brings the scene to life. Natural lighting is frequently preferred for its realistic appearance, but artificial lighting can also be used to highlight specific features. Focus on composition as well, framing the scene to draw attention to critical design elements and create a balanced, visually pleasing image.
Tips To Optimize Lighting
- Master the Fundamentals of Lighting:
Understanding the principles of lighting is essential for creating compelling architectural renders. Study real-world lighting scenarios, such as how natural light interacts with different materials and how artificial lighting affects ambiance. Familiarize yourself with lighting terminology, like key light, fill light, and rim light, to accurately control the mood and emphasis in your renders. - Use Natural Lighting Whenever Possible:
Natural lighting tends to create a more realistic and inviting atmosphere in architectural renders. When applicable, position windows, skylights, and openings strategically to let natural light flood the scene. Experiment with different times of day and weather conditions to evoke various emotions and moods in your visualization. - Balance Lighting Intensity:
Maintain a balance between light and shadow to avoid overexposed or underexposed areas. Aim for a well-lit scene without losing the sense of depth and dimension. Adjust the intensity of lights and the exposure settings to achieve a harmonious balance between bright and dark areas. - Employ Artificial Lighting Thoughtfully:
While natural lighting is appealing, there are scenarios where artificial lighting plays a significant role in the composition. Accentuate architectural features, create focal points, or set the desired ambiance using artificial lights. Be mindful of light fixtures’ placement and ensure they align with the overall design concept. - Utilize Lighting to Guide the Viewer’s Eye:
Strategically position lights to guide the viewer’s focus towards essential elements of the design. Use highlights and shadows to draw attention to architectural features, entrances, or points of interest. An expertly illuminated scene will lead the viewer’s eye through the image, conveying the intended narrative effectively. - Compose with Leading Lines and Rule of Thirds:
Apply principles of composition, such as leading lines and the rule of thirds, to create a visually pleasing arrangement of elements. Leading lines, such as roads or pathways, can guide the viewer’s gaze deeper into the scene. Placing important elements along the intersection points of the rule of thirds grid can create a balanced and dynamic composition.
Pay Attention to Materials and Textures
The materials and textures you use can significantly impact the realism of your architectural render. Textures with high resolution and carefully applied materials can mean the difference between a flat image and a vibrant, lifelike representation. To accurately simulate the appearance and behavior of materials such as wood, glass, concrete, or fabric, use real-world references. Strive for authenticity, and keep in mind that even minor flaws can add depth and believability to your renderings.
Tips For Perfecting Materials and Textures
- Use High-Resolution Textures:
High-resolution textures are crucial for achieving realistic renders. Look for textures with sufficient pixel density to avoid pixelation and maintain sharpness even in close-up shots. Many online texture libraries offer high-quality textures for free or for purchase, and some 3D software also comes with built-in texture libraries. - Choose Realistic and Relevant Materials:
Select materials that accurately represent the surfaces and finishes of the architectural elements in your scene. The materials should match the real-world counterparts in terms of color, reflectivity, roughness, and other visual properties. If possible, use reference images or physical material samples to ensure accuracy. - Pay Attention to Material Mapping:
Properly mapping materials onto your 3D models is vital for achieving realistic results. Ensure that the scale and orientation of the textures are correctly applied to the geometry. Avoid stretching or distorting the textures, as this can detract from the visual fidelity of your renders. - Use PBR (Physically Based Rendering) Materials:
PBR materials are designed to simulate real-world materials accurately. These materials adhere to a standardized system that ensures consistency across different rendering engines. PBR materials typically include diffuse/albedo, roughness, metallic, normal, and ambient occlusion maps, which work together to create photorealistic surfaces. - Create Custom Materials:
While texture libraries offer a wide variety of materials, sometimes you may need to create custom textures to match specific design elements. Software like Substance Designer or Quixel Mixer allows you to generate custom PBR materials tailored to your project’s requirements.
Incorporate Context and Environment
An architectural render should not exist in a vacuum but be integrated into its surroundings. Incorporating context, such as neighboring buildings, landscaping, and people, gives your visualization depth and realism. The surrounding environment can also convey the size and impact of the design, giving viewers a thorough understanding of the project’s context.
Tips For Context and Environment
- Research the Site and Surroundings:
Thoroughly research the site and its surroundings before starting the render. Understand the site’s geographic location, climate, vegetation, neighboring structures, and topography. This knowledge will guide your decisions when adding context elements to the scene, making the render feel more authentic and believable. - Use Real Geographic Data:
Whenever possible, incorporate real geographic data into your renders. GIS (Geographic Information System) data and satellite imagery can provide accurate terrain information and urban context. Tools like Google Earth Pro allow you to export high-resolution satellite imagery and 3D terrain models, which can be used as a backdrop for your renderings. - Add Vegetation and Landscaping:
Integrate vegetation and landscaping elements to create a sense of place. Use realistic 3D models of trees, shrubs, and plants to populate the environment. Pay attention to the scale and distribution of vegetation to make it look natural. Additionally, consider the seasonal changes in foliage to match the render’s time of the year. - Include Surrounding Buildings:
Show neighboring buildings or other contextual structures to give viewers an understanding of how the design fits into the existing urban fabric. Accurate representations of nearby buildings help viewers visualize the scale and overall impact of the new architecture. - Implement Atmosphere and Weather:
Use atmospheric effects to add depth and realism to your renders. Incorporate elements like fog, haze, or atmospheric perspective to create a sense of distance and depth. Adding weather effects, such as rain, snow, or sunlight filtering through clouds, can also add life and interest to the scene. - Consider Human Activity:
Including human figures engaged in various activities can bring your render to life. Use 3D models of people to populate the scene, such as pedestrians walking on sidewalks, people enjoying outdoor spaces, or vehicles driving on roads. This human presence provides a sense of scale and function to the design. - Implement Day and Night Scenes:
Explore rendering your architectural design in different lighting conditions. Create both day and night scenes to showcase how the building interacts with its environment at different times. Daytime renders emphasize architecture and landscaping, while nighttime renders showcase artificial lighting and the building’s visual presence in the dark.
Render in High Resolution
High-resolution renders are required to show off the intricate details of your architectural design. Clients and stakeholders will appreciate the ability to zoom in on specific elements without sacrificing image quality. Rendering at high resolutions, however, can be time-consuming, so strike a balance between resolution and processing time based on the project’s requirements and deadlines.
Tips For Better HD Renders
- Use High-Resolution Textures and Assets:
To create HD renders, start with high-resolution textures and 3D assets. Ensure that all the elements in your scene, including materials, models, and environment assets, are of high quality and resolution. Using low-resolution textures or assets in an HD render can lead to pixelation and a loss of detail, undermining the overall visual impact.
Look for texture libraries that offer textures at least 2K or higher resolution. Additionally, ensure that your 3D models are detailed enough to withstand close scrutiny when rendering at higher resolutions. - Optimize Render Settings:
Rendering at high resolutions can be computationally demanding and time-consuming. Optimize your render settings to strike a balance between quality and rendering time. Adjust settings such as antialiasing, ray tracing, and global illumination to find the right balance for your project.
Consider using render passes or render layers to separate different elements of the scene, such as lighting, reflections, and shadows. This way, you can fine-tune each element individually during post-processing, achieving greater control over the final output. - Lighting and Shadow Quality:
HD renders demand higher attention to lighting and shadow quality. Ensure that your lighting setup is well-balanced and optimized for the best results at the higher resolution. Be mindful of light sources’ intensity, color temperature, and position to achieve realistic and captivating lighting effects.
Pay special attention to shadows, as they can significantly impact the realism of your renders. Adjust the shadow settings to prevent pixelation and maintain smooth, soft shadows that accurately match the lighting conditions. - Post-Processing and Image Enhancement:
Post-processing plays a crucial role in enhancing HD renders further. Use professional image editing software like Adobe Photoshop to fine-tune colors, contrast, and other visual elements. Apply sharpening techniques carefully to bring out details without introducing artifacts.
Consider using high dynamic range (HDR) techniques to capture a broader range of tones and details in your HD renders. HDR renders offer more flexibility during post-processing and can lead to visually striking results.
Post-Processing for the Final Touch
Post-processing can take your renders from good to outstanding. Refine colors, contrast, and composition using post-processing software such as Adobe Photoshop. Minor changes, such as adding a subtle depth of field effect or adjusting lighting levels, can significantly improve the overall impact of your visualizations.
Key Post Processing Tips
- Color Correction and White Balance:
Color correction is one of the most fundamental aspects of post-processing. Adjust the color balance, contrast, and saturation to achieve a visually pleasing and balanced image. Pay attention to white balance to ensure that whites appear neutral and accurate. Use adjustment layers or curves to fine-tune the overall color tone and make the colors pop without being overly saturated. - Apply Depth of Field and Vignettes:
Emulate depth of field effects in post-processing to add realism and draw attention to specific focal points in the scene. Use blurring techniques or lens blur filters to simulate the way the human eye focuses on a subject while leaving the background slightly out of focus. Additionally, consider adding a subtle vignette to darken the edges of the image, guiding the viewer’s gaze towards the central part of the render. - Enhance Lighting and Shadows:
Post-processing allows you to further emphasize the lighting and shadows in your scene. Use dodge and burn tools or adjustment layers to brighten highlights and darken shadows selectively. This technique can add depth and dimension to your renders, making them more visually appealing and realistic. - Composite Elements for Context:
If your architectural render lacks context or surrounding environment, post-processing offers an opportunity to composite additional elements into the scene. Add trees, people, cars, or other objects to provide a sense of scale and context. Ensure that the composited elements blend seamlessly with the original render in terms of lighting and shadows. - Fine-Tune Reflections and Glare:
Post-processing is an excellent opportunity to enhance reflections and add subtle lens glares. Reflective surfaces, such as glass or water, can benefit from reflections that add an extra layer of realism. Similarly, adding lens glares or light streaks can create a sense of atmosphere and drama in your architectural renders.
Conclusion
Creating great architectural renders necessitates combining technical knowledge, artistic sensibility, and a thorough understanding of the design concept. By following these seven guidelines, you can create renders that captivate your audience, effectively communicate your design, and leave a lasting impression on all who see your work. Use visualization to transform your architectural projects into compelling visual stories. Good luck with your rendering!


